
Let's start with a quick explanation on Erplain's sales cycle. There are 4 main types of documents:
- Estimates (Quotes)
- Sales orders
- Shipping Orders
- Invoices
You can start the sales process by creating an Estimate, a Sales Order or an Invoice. A Shipping Order is created from a Sales Order and an Invoice is the last step of the process. All the documents related to the same Order share the same "Sale number".
To illustrate creating your first sale in erplain, we will start by creating an invoice. Your stock levels will be adjusted automatically when creating a Shipping Order or an Invoice.
Here is how to create an invoice (it works the same way to create an Estimate or a Sales Order):
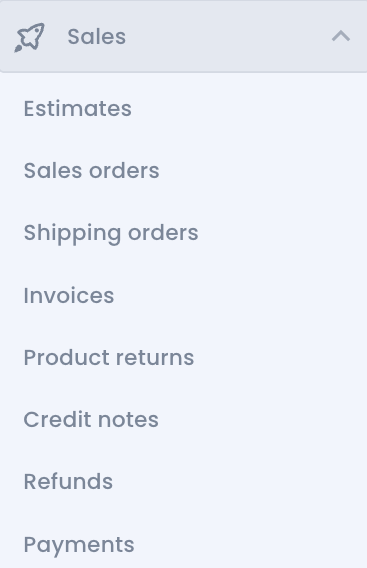
- Click on the menu 'Sales' then 'Invoices', and 'Create Invoice':
- Here you can select the customer. Make sure to select the customer first as most fields will be displayed automatically based on the information you previously entered about this customer:
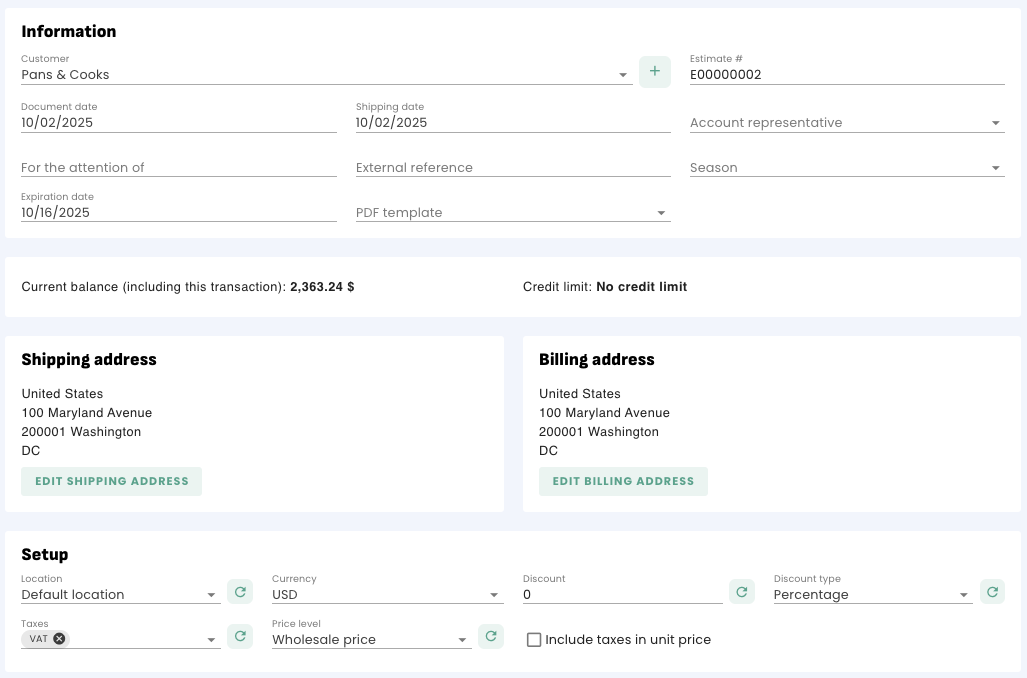
- Insert the Product or Service in the invoice: go in the 'Products' field and start typing the name or SKU. You can also click on the 'Add multiple products' button, it is an easy way to insert multiple products at once. At any time, you can modify the "Name", "Quantity", "Price", "Discount" and "Tax". The totals will update automatically:

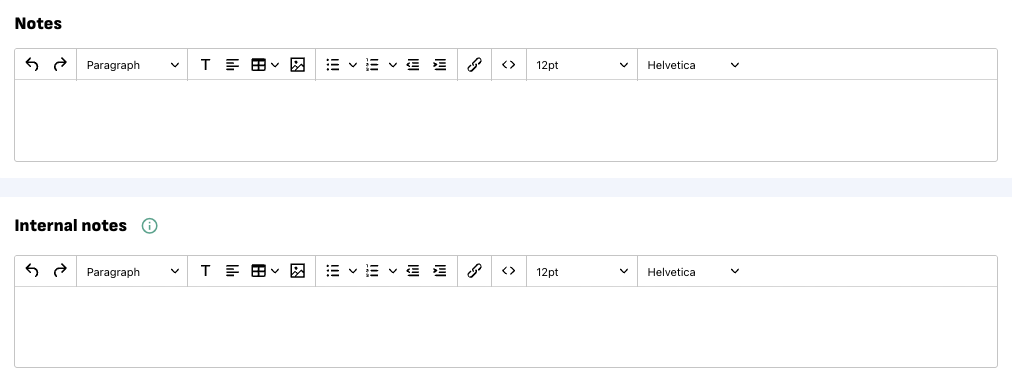
- Add some Notes for your customer or Internal Notes for you and your team
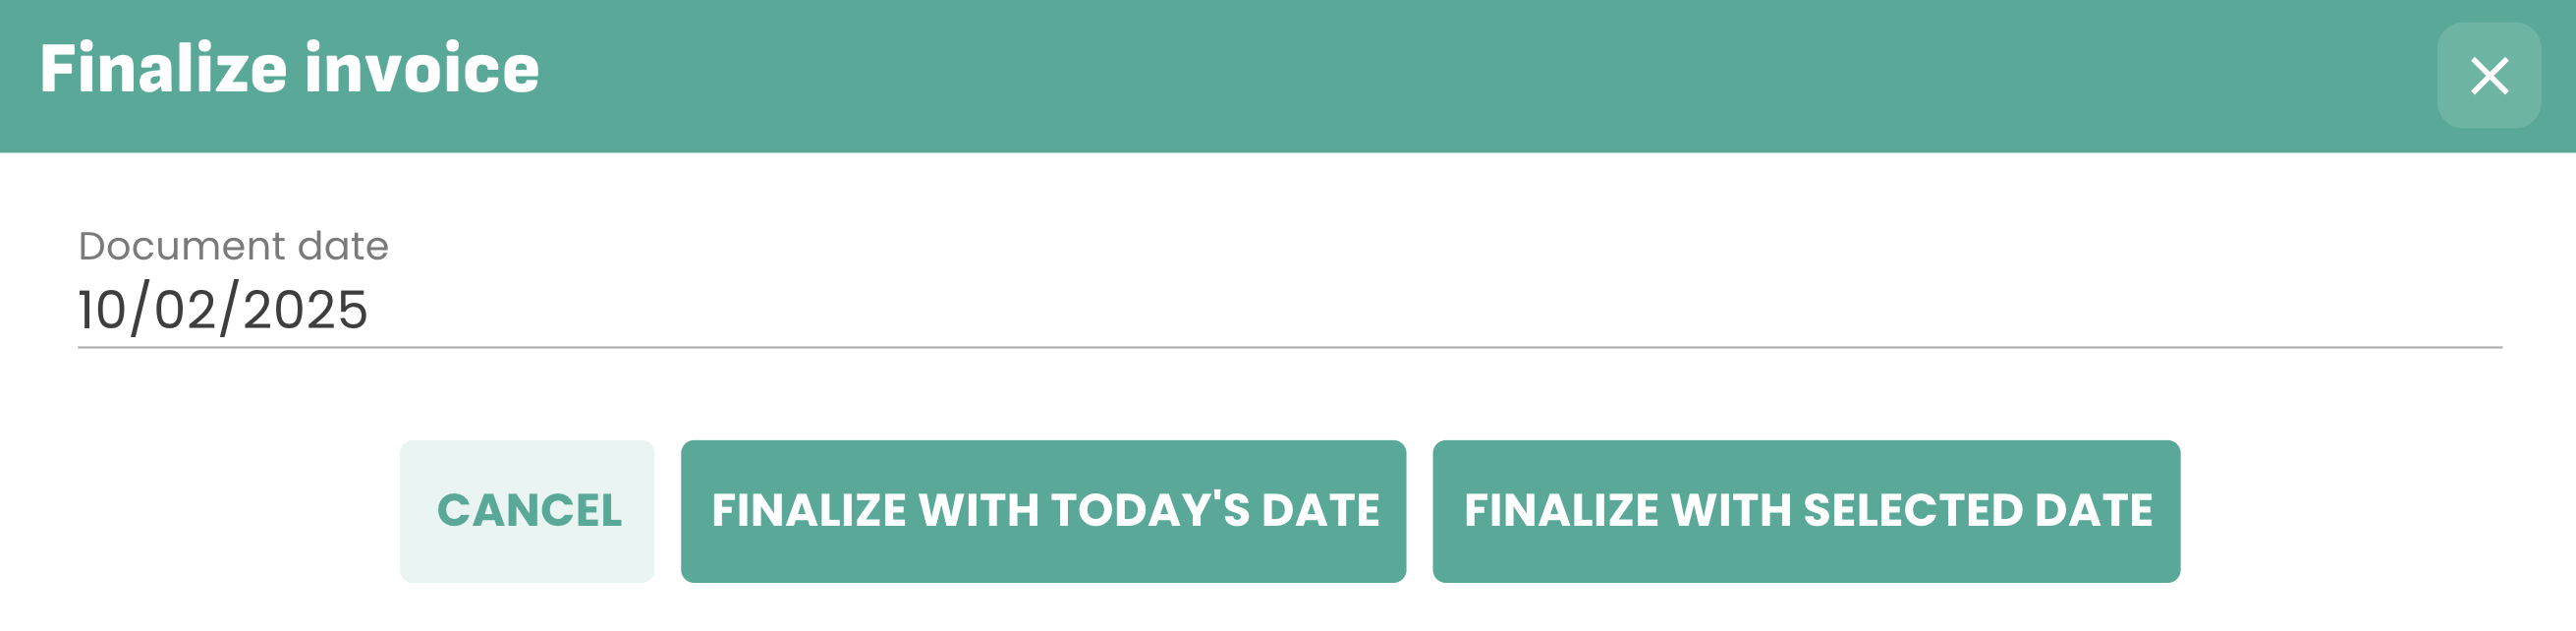
- Save


With the first invoice, you are also given the option to edit which format you want your invoices' numbers to follow.

Congratulations! You have created your first invoice with Erplain. You are now able to manage and track payments of this invoice. To learn more about creating an invoice, you can visit this article. And to learn more about Erplain, visit the Help Center.